As you may have noted from my blog, I tune Elegoo Mars for better performance as my hobby. After the complete rebuild of the Z-axis, making it quieter, more-precise in XY direction, and easy print removal, I focused on printing speed.
I have already experimented with making the screen monochrome, however, due to lack of resources (dead screens) I abandoned the idea. The second way is to tune the light source. You can already buy LED lamp replacement, but what hobby would it be if just bought everything? Also, their parameters are not as good as my aims.
One disclaimer – the whole build was performed during the lockdown period during COIVD-19 outbreak, so many manufacturing and supply options were limited. Therefore, some of the approaches presented in this post are rather hacky and I would make them differently during normal times.
I decided to build a 7×4 LED array. The reason for going for such a high number of LEDs is to limit their radiation cone – the goal is to produce as parallel rays as possible. With fewer LEDs, I would need a wider cone. When you have rays under an angle, it leads to a side exposure and imprecisions in the print. I used LG6565 – 10W LEDs which emit peak wavelength 405nm. That’s 240 W. Original Mars is roughly 30 W.
I created a simple PCB. I used copper-clad with an aluminium substrate to provide better cooling. Normally, I would buy sodium persulfate and etch the board. However, during COVID outbreak all the drug stores were closed so I just cut the board with an X-acto knife and peeled the excessive copper. Soldering the LEDs on the aluminum substrate was not an option and reflow oven was out of the reach – so I just cut pieces of solder wire, put them on the PCB, put some flux on it, and put it on a gas stove on a thick piece of steel. After 2 minutes, the solder melted, the LEDs nicely arranged. After attaching some wires, the PCB was ready. To improve the cooling I also mounted a beefy heatsink to the backside of the PCB and I added two 60 mm quiet fans.
To drive the LEDs, I decided to go with a separate power supply. I used a switching boost constant-current DC/DC converter bought on Aliexpress. I decided to power it from 24 V to make it as efficient as possible. I added a MOSFET for switching the LEDs. To make things simple, I attached wire on the gate of the original on-board MOSFET for LED switching. One note – the LED array is really bright! There was also a lot of heat coming out of it – but not the excessive heat in the heatsink – the blue light itself carries a lot of energy and you could feel warm even when you put your hand nearly meter from it.

Drawing the PCB layout by hand

I didn't have single clad large enough, so the final panel is composed out of two pices

COVID outbreak = no chemicals available. Trying to make PCB by cutting the pattern

Cutting the PCB and peeling the copper is surprisingly easy

Finished PCB

The LED fits nicely

Solder wire + flux ready for reflow

Finished reflow

PCB on a heatsink

Wiring the LCDs

Gate of the original MOSFET

Adding a mounting bracket

Side view of the bracket

It fits nicely!

First print!

Adding a cooling fans

Cooling fans, side view
This was the basic prototype. Next, I focused on making the light rays parallel. First, I started with designing a mounting bracket, which features ribs shuttering the light from neighboring LEDs. It limits the angle to roughly 45 °. I printed in 2 pieces on my Mars. I painted the insides of the ribs with Black 3.0 to limit the reflection.
Then I decided to create custom lenses to make the beams parallel. I wrote a simple Python program to calculate the shape of an aspheric lens, which in theory should make the beams parallel.
I decided to cast the lens from clear epoxy. First, I measured that it has roughly the same transparency for 405nm light as glass by casting a test piece and using a photoresistor and 405nm laser pointer. Then I measured the refractive index of the epoxy by shining the laser pointer in it and drawing the light beam path on a paper underneath the test piece. Then used the program above to create a spline sketch of the lens, created a 3D model in Fusion 360. Then I offset the lens surface by 0.05mm and printed it on my Mars using Siraya Tech Fast resin. After printing, I mounted the lens in a hand drill and used sandpaper (grid 400, 600, 800, 1000, 2000, and 4000) to polish it. To finish it, I used a fine abrasive paste to create a glass finish.

First printed lens bodies - unpolished (right) and polished (left)

The final shape of lens - polished (left), unpolished (right)

Jigs for lens body polishing

Simple silicone mold for lens casting

First test lenses
Having the shape of the lens, I created a silicone mold and cast the lens out of the epoxy. To my surprise, it worked! The lens was nicely transparent and few experiments with my headlamp showed it does what it is supposed to do – when you put LED in the focal point, it produces a nice circle of light. To verify the parallelity of the beams, I pointed it at a wall roughly 2 meters away. On 2 meters, the casted circle had a diameter of 100 mm. That means that from the initial 45 ° cone of radiation it went to 4 ° – not bad for a homemade lens from scratch!

Final lens shape

It works!
The next challenge was to create 28 of them. Since the epoxy cures 48 hours I decided to create multiple silicone molds, put them in a frame, and cast a single piece lens. I struggled a little with capturing large bubbles inside the mold, but after two fails I cast a usable piece. Well, sort of. The individual lenses work, unfortunately, the boundaries between them have a lot of artifacts. Therefore, the result was not good.

Fist expriments with smaller mold
Fist expriments with smaller mold

Pieces of the lens frame

The lens frame

The lens frame filled with the molds

Prepared mold

Pour holes

Baking the mold in oven to speed up curing
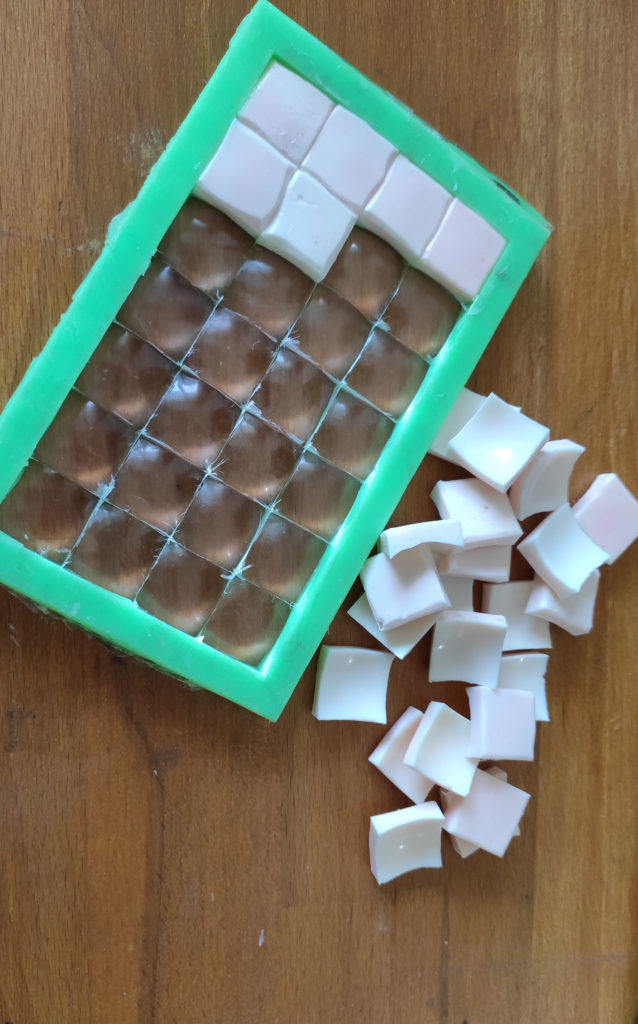
Disassembling the mold

The final result

The pattern produced by the lens - the mold got deformed and also, there are artifacts on the lens connecitons

Pattern without lenses

Pattern without lenses
I run few tests prints – with and without the lens. My observation were the following:
- the 0.05mm layer cure time for Siraya Fast and Elegoo Gray was 1 second
- the lens caused some blind spots – which was expected,
- surprisingly, I observed much less exposure bleeding without the lens compared to the original Mars light source,
- there was no significant difference in exposure bleeding with and without the lens,
- the resin was easily able to reach 50 °C – the amount of light energy carried in the light is really high. In such conditions, even the thickest resins are nicely thin and practically water-like 😛
- I overestimated the LED cooling and the heating never got hotter than 5 °C over ambient temperature,
- with such short exposure times, build platform peeling and retraction takes most of the print time – you expose in a single second and then it takes 5 seconds to peel the layer…


My first impressions were good. The mod was working and I was getting nice prints. I didn’t need a heater, actually, I was considering building a cooler for the build area. However, after 10 printing hours, I started to observe weird print failures. The models did not stick, were soft, and broke often. Increasing the exposure time did not help. I noticed, that the LCD is not as bright as it was. It was actually pretty opaque, but there were no dark spots on it like in the case of “common LCD failure”. Probably the heat killed it.
Therefore, I decided to cut the LED power in half (120 W) and to add an extra fan, which blows the air from the side of the array and therefore, creates a constant airflow below the LCD which cools it. After this mod, my exposure times are around 2-3 seconds per layer and the resin stays cools. Even it is double the original value, the printing times are reasonably low as most of the time is consumed by layer peeling. With this mod, I printed over 150 hours with a single LCD and it serves me well. I do not observe any damage except the damage I caused by accidentally scratching it. Note that it roughly equals to printing 600 hours on unmodified Mars.
To sum it up – you don’t need monochrome when you have enough power (and enough cooling)! Well, to be more serious – this was an interesting experiment and I am personally happy about the results. The mod itself is rather hacky and therefore, I do not publish any materials to reproduce it. It was a nice fun project during COVID lockdown, but it is not suitable for people to reproduce it. Currently, I am out of time and energy to invest into finishing this mod into a reproducible form. This is also why this report is quite brief and not-so-detailed as I was originally aiming for.
PS: It makes no sense to make commonly available lenses! Buy them! I made the lenses only as challenge and a hobby. It (kinda) works, but probably is not worth your time.
Recent news: My open letter to the 3D-printing community
I love the 3D-printing community, but I think there is room for improvement. Let's get better in 2023! Read the full letter.
Support my work!
If you like my work (these blog posts, my software and CAD models) and you would like to see more posts on various topics coming, consider supporting me in various ways:
- You can become my sponsor on Github.
- If you prefer, you can also become my Patreon.
- You can buy me a coffee on Ko-fi,
- or you can buy something from my Tindie store (also see below),
- Or you can just share my work!
If you are interested in knowing what I am up to and recent sneak-peaks, consider following me on social media (Twitter, Instagram, Facebook).
My store offers
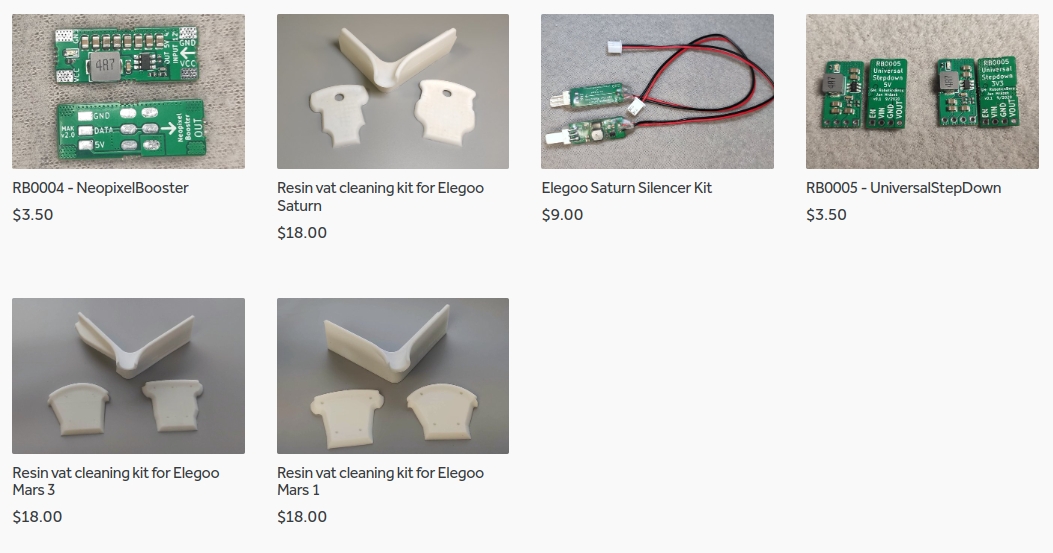
I launched new tank cleaning kits for Elegoo Saturn, Saturn S, Mars 1, and Mars 3. You can find them in my store.
Boldly voiding warranties so you don’t have to 🙂
Great work Master, thanks for sharing
I saw the 240W at the begining and was going to ask how long that lasted, then I saw where it didn’t, that made me lol.
With a mono-chrome screen you could probably do 240W, but 1/8th second exposures would probably be too silly.
Wow, mad skills…. 😉
I’m actually looking at using a Mars Pro LED array to replace the standard one in OG Mars. Has anybody done that? I’m just wondering if it is directly compatible, no re-soldering or wiring required….but I think I’m going to run into problems with the heatsink and mounting?
Hi, I bought the mars pro led array thinking not knowing it wouldn’t be compatible for the og mars. I’m thinking about trying to modding it but I don’t know how to cut the power in half.
Hello.
Nice project. im glad it worked out.
Can i ask you for the fusion model for the lens?
I wanna do some experiments by myself .