I’ve been in resin printing for over two years now. I have always refused to get a curing station. I disliked the available solution and was happy with my setup of several Lock’n’lock containers with IPA and a simple curing box made out of IKEA Lixhult. If you are wondering why I disliked the current solutions, read the ending of this post where I describe my dream machine.
However, my containers got small and I was considering getting bigger ones. It was at the time when Elegoo announced Mercury X pre-order. I thought “Ok, let’s give it a shot”.
I received my unit in September and I’ve been using it on a daily basis. Current experiences? It works pretty well and I am happy about it. I wouldn’t go back to my “dumb containers with IPA”. If you would like to see a full review that lists all the features and gives you the basic idea, please refer to other reviews: e. g., a nice review by Thomas Sanladerer.
In the rest of the post, I will show you what I dislike about the machine and how I improved it (at least a little) to make it suitable for heavy and convenient usage. Please note that overall I like the machine and I would advise my old me to buy it.
Problem #1: Only a single cleaning container
This is the biggest flaw of the machine – there is only a single container for IPA & cleaning. Do you ask why you would need more containers? It is more economical.
I clean my prints in two baths – a dirty one and a clean one. The dirty one serves to purpose of removing resin in bulk, or resin drops captured in small surface cavities of the print. The goal is to get a print that is clean – i.e., there are no bulks of the resin on the printed piece. When you clean the model in this bath, you should get a pretty clean model only with a really thin film of resin and IPA mix on the surface. Then you drip IPA out of the model and you wash it again in the second, clean, bath. This bath removes the thin film and leaves you with perfectly clean models.
Why is this economical? If you want perfectly clean models that are not sticky, it is necessary to wash them in a clean bath. If the bath is dirty (even a little) it necessarily leaves a film of extra resin on it that can become sticky (as it was already corrupted by the IPA). So that means you have to change your bath often. Especially if you only have a single bath and you put models with a lot of trapped resin on it. The solution is to have a dirty bath. You don’t care if this bath is 99% clean or only 70% clean. It will remove most of the resin and only leaves you with a thin film of the contaminants. So that means that you contaminate your clean bath only a little, therefore, it lasts longer. And as you don’t care much about the clearness of the dirty bath, it also lasts long.
Mercury X needs about 20€ worth of IPA to operate at the full scale. In my experience, one such bath becomes unusable after printing about 2 kg of resin. That means that 1 kg of resin costs you about 20 % more. With a dual bath setup, I printed over 10 kg of resin and the clean bath is still good. Also, once your clean bath becomes too dirty, you can dispose of the dirty bath, turn your clean bath into a dirty one, and set up a new clean one. In this way, you increase your yields of IPA 10x. It is worth it, isn’t it?
Unfortunately, as of today, Elegoo does not sell replacement tanks for the washing station. See my solution below.
Problem #2: The containers are transparent!
If you aim at high yields out of cleaning baths, sunlight is your biggest enemy. Since you are dissolving a photo-sensitive material inside IPA, when you expose it, it starts to partially cure and forms a white, sticky jelly. This is especially noticeable for the dirty bath as the resin is more concentrated.

Since the containers are transparent, leaving the containers on the desk is a highway to hell. You can put your containers with IPA into a dark space but you forget once and you just ruined a good bath of IPA. Why aren’t the walls of the container light blocking? Why is every vendor making it transparent?
Problem #3: When you you full build plate it does not fit the stand
If you use your build volume extensively, you will quickly find out that the shipped holder is unsuitable. The opening is too small. Why such a stupid mistake? If you move the bars by 1.5 mm, it would fit nicely!

Problem #4: Slow UI
Elegoo tried to make the machine nice and cool-looking. However, from a long-term perspective, I would appreciate it if there were no initial animation. This animation in combination with the 2-second button press to turn the machine on gets quickly annoying. I would appreciate a much shorter press and no animation so the machine could be used again.
Also, it would be nice if the machine remembered the last time setting. Personally, I don’t also understand why the washing station is limited by 20 minutes (5 would be enough) and why the curing station is limited to 30 minutes (I would appreciate 60 minutes often).
Solutions to some of the problem
I consider having a second bath as a must-have and since no replacement is available, I decided to build one. I struggled a long time to find a suitable container. It seems that the container on Mercury X is custom-made just for Elegoo. I settled up with using Ikea 365+ 10.6l container. It does not have the perfect dimensions (it is too wide and not high enough), but is the best fit I was able to find. And a nice bonus is that it is cheap (8 €) and widely available.

I designed a replacement propeller to the middle that can be easily printed. I printed it out of PLA on an FDM printer as PLA is pretty stable in the IPA environment, unlike resin that softens (see my post: I tested how much moisture SLA printers resins absorb. How it changes them?). It accommodates 4 20×2 neodymium magnets. It is held on a hub (attached via M3 screw with heat inserted nut) that is glued to the bottom of the tank.
Fun fact: It is quite challenging to glue PLA (the hub) and PP (the container). Superglue does not stick to PP, chemopren and uhu glues get dissolved by IPA. I thought that hot glue is the best answer (I used it for gluing stuff a lot to PP), however, I got quickly surprised that hot glue also dissolves in IPA. I settled up using a 5-minute epoxy – the bond to PP is not super strong, but it seems to be enough for this case.
To hold the build plate I designed also a 3D-printed bracket. If you want to use the original basket, it also fits. I also designed a replacement of the original bracket, so I can use it with a fully covered build plate.

Printed components out of PLA

Assembly the magnets on the curing station, so you maintain the coorect orientation

You can either cut M3 thread...

...or heat press an M3 nut

The inserted nut

Completed assembly after gluing

Assemble the frame from 2 parts. Press fit is enought.

Finished assembly

Top view.
As the container is wide and too large (10.6 liters compared to 7 liters of the original) I also designed a ballast you glue to the side of the container to reduce the volume. It is a 3D-printed shell filled with sand (so they do not float).

The ballast to reduce the volume of the container

Top view

Ballast is filled with sand

Finished assembly

Finished assembly
Overall the solution works nicely. The only downside is that the IKEA container is not tall enough, so if you print is higher than 170mm, you cannot use the build plate bracket. If you have a tip for a better fitting container available in Europe, please, let me know down in the comments!
All the design files are freely available on the project GitHub repository. There is also a bill of materials and a full build guide there. So you can build it if you want. If you like them, please consider supporting me by one of the means I state at the end of the blog post.
The second problem comes from the transparency of the containers. Since the containers are made out of PP, there are not many paints that stick on them very well. Also, the light does not block the light perfectly. What I used on my old containers is a thin aluminum tape I used to cover all edges. Since the tape is made out of metal, it blocks 100 % of the light (even it is really thin). However, for this case, I decided to stick some Cinefoil to the containers with double-sided tape as I have some leftovers available from the previous experiments. Cinefoil is a thick aluminum foil painted black. Unlike regular food aluminum foil, it is about 5x thicker and thus more durable. Note that it does not matter if it is black or not, the silver one works perfectly. Just be aware of the tapes that are coated with aluminum, not made out of aluminum. Such tapes are still semi-transparent.

That is all out my upgrades. I disassembled the machine to find out what microcontroller they used. They use SymWif SWW19SC8T6 – probably a Chinese ARM controller. There is also an SWD programming connector populated on the board. However, I didn’t find enough time to reverse engineer the board and to try to develop custom firmware, so so far, there are no improvements from me regarding the lagging UI.
My dream wash & cure machine
In the introduction, I mentioned that I don’t like the concept of these machines. What I dislike is that they use so much IPA for cleaning such a small space. Consider a dishwasher. It can clean up about 20 plates, 20 forks & knives + extra dishes with less than 7 liters of water (the same amount of Mercury X!). Dishwashers spray the water with soap via nozzles on the dirty surface and thus, wash it.
I would like to have such a machine, that could be loaded with two baths of IPA that would be always kept in dark and the machine would use them separately for two washing cycles. It could also use compressed air to dry the model after washing. When the model is dried, it could be also cured in place with no manual intervention.
I am aware that there is a challenge with IPA being flammable, but in my opinion spraying, about 400 ml of IPA in an air-tight space might be actually safer than storing 7 liters of IPA in a container that can easily spill over.
I was experimenting with such a solution, but I failed on finding a suitable self-priming pump. The Aliexpress is full of diaphragm pumps that claim to have large enough pressures, however, I tested a few of them and they only reach about 10 % of their claimed power (both in pressure and flow rate). And the high-quality pumps cost nearly as much as my Elegoo Saturn, so I currently abandoned such a project.
The design files
I know that most people don’t read the full text, so If you are just quickly looking for the design files of the upgrades, here you go https://github.com/yaqwsx/MercuryXUpgrade. They are also available on Printables.com: https://www.printables.com/model/195569-elegoo-mercuryx-wash-cure-station-for-resin-printi The files are available under CC BY-SA 4.0.
Recent news: My open letter to the 3D-printing community
I love the 3D-printing community, but I think there is room for improvement. Let's get better in 2023! Read the full letter.
Support my work!
If you like my work (these blog posts, my software and CAD models) and you would like to see more posts on various topics coming, consider supporting me in various ways:
- You can become my sponsor on Github.
- If you prefer, you can also become my Patreon.
- You can buy me a coffee on Ko-fi,
- or you can buy something from my Tindie store (also see below),
- Or you can just share my work!
If you are interested in knowing what I am up to and recent sneak-peaks, consider following me on social media (Twitter, Instagram, Facebook).
My store offers
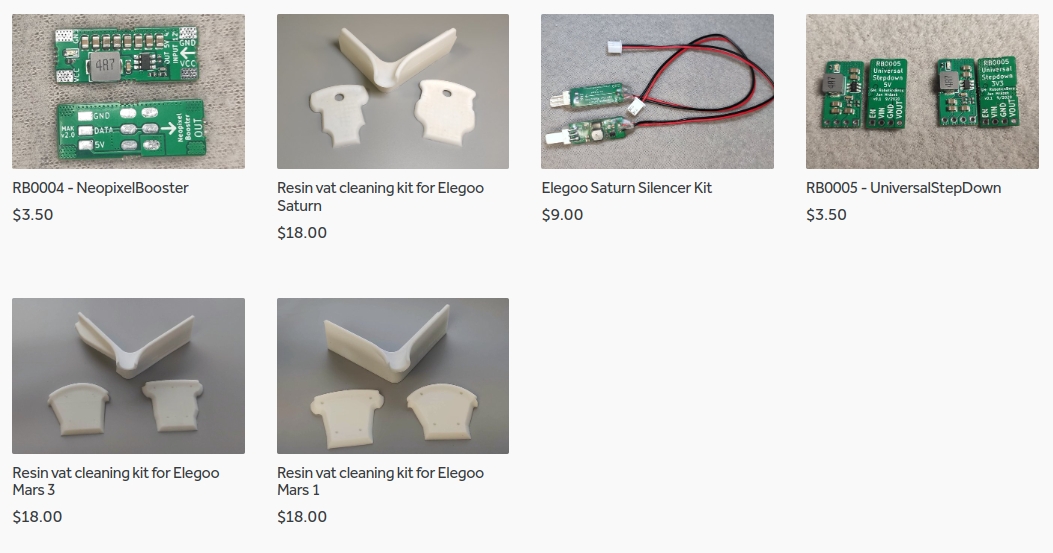
I launched new tank cleaning kits for Elegoo Saturn, Saturn S, Mars 1, and Mars 3. You can find them in my store.
Related Posts
- Multi-planar Slicing for 3D Printers – For Both FDM and Resin
- Open letter to the 3D printing community: Let’s be better in 2023! What should we do?
- Continuous Printing On LCD Resin Printer: No More Wasted Time On Peeling? Is it possible?
- About the Successful Quest For Perfect MSLA Printer UV Backlight
Love your posts, thanks!
I also typically use 2 IPA baths. For quick parts however, I somethings just use 1 bath and put the part then under water while curing. Stickiness always goes away under water.
Concerning the dream washing machine, we are on the same path 🙂 An airbrush with compressor from Aliexpress is on its way. No idea whether it’s useable but I want to test it for air drying and also IPA spraying.
I currently have a Mercury Plus and it works well but I have to take my Saturn’s prints off the build plate to wash them so I’m pretty envious of your Mercury X! I wish I knew when they were going to become available in Canada because I’m ready to upgrade now.
In the past for a dirty bath I’ve just manually swirled the build plate and model around in a tub of IPA but lately I’ve been leaving my prints to drip for a while and it’s helped enough that I don’t bother with a double bath.
It’s not fast and efficient but I’m not doing this to make a buck or to set time records so for my needs, it’s been working well enough.
Nice post / content as usual. I ordered the same wash/cure setup, just waiting for it to arrive. Also I too was working on my own solution, I guess I still am to some extend but mostly it’s in hibernation. I’ve pretty much completed the brains of the project, using a ESP32, A4988 stepper driver, OLED SSD1306, and a few buttons – all of which could be ‘grafted’ into the elegoo Mercury X, probably wouldn’t be too difficult. I do like that the ESP32 can give a web page to configure the system and monitor it, and I also wanted to add a small forced-air heater to the curing process which would be easy enough.
You can see the software here: https://github.com/rkolbi/Wash-n-Cure
The past week I’ve been contemplating how I could convert the Mercury X to a bigger container for the Jupiter, but as I should have expected, Jan Mrázek already has a solution posted. Excellent work, as always.
Well now you will have the EIBOS Oceanus as your (almost) dream machine. It is black all around, drains your IPA and cures the model in the same place. You can even use a dirty and clean wash by using two bottles (though this is not automatic)